A lot of Revit users know that they can save Drafting views to a New File. This is a super useful way to build your library of Revit typical details.
The other day I found that same option available when you right click a MODEL View. Hmmmmm. What happens if I click that?
Well here's what happens:
You get a new file (oh is that what they mean by Save as New File?) that only includes the view you saved. What is that view useful for? Well drafting views can be imported into a project, but NOT this. So, I really don't know what you could use this for? Maybe use it as a lightweight file you can email to allow a consultant/owner to view a specific condition. But I think I'll stick with a jpeg screen capture or a DWF.
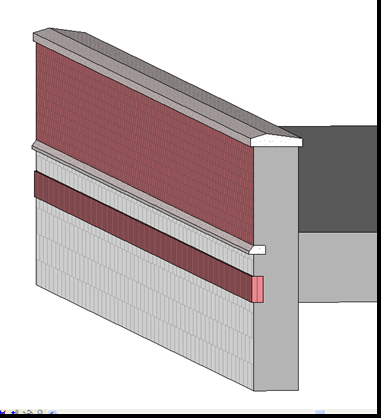
What is included in this new file? It is a file that contains the parts of the model that are within the extents of the view element. The only views that are saved to the Project file are those that are referenced by our saved view. No Plan or Ceiling views, etc, etc. Just the Callout of the Section and the Section. You DO get the 3D view with a scope box defined by the saved view element.
This is where most people would stop.
But... what happens if we stretch that scope box?
Hmmmmmmmm, What's happening here?
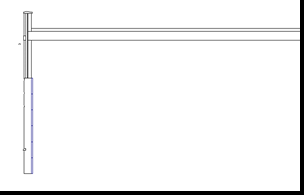
Lets look at the Section view that is referenced by the callout.
Notice that the Crop Region extends well past the the section of wall that was captured. However the wall itself stops at the level above and below the callout. What if we turn the scope box off? What else is in this thing?
Wow! The whole site? Really? There has to be a reason though.
There it is. The view extents of the referenced section touch the site.
What can we do to exclude some of this extra geometry from the file?
What if we don't use a "child" view like a callout? Crop down the extents of the Section and ... well you can't select the the option UNLESS there is some kind of 2D detail in the view. In this case I place a random detail component I'm sure you could use a detail line.
Lets see the result.
Nope, that's not it. Let's "Don't Crop" the resulting section.
OK one more try in a post that has grown totally out of control.
Maybe the fact that the wall extends to the level and the level intersects the topography.
Adding a level to the original project didn't fix it. And it didn't matter whether the level was within the extents of the the view to be saved or not.
Even moving the base constraint of the wall to the new level didn't help. Darn toposurface...
Eureka!!! Turn the Toposurface category OFF in the original view!!! Duh! The final product in all of its glory.
So what was the point of all this? Well, I think it's an interesting fact that you can save a model view (oh, but don't forget the 2D details component (yes, a line works)) to a separate file.
Interesting aside, I just can't leave well enough alone. I love to dig down and figure this Revit thing out. Sure I could have just gone through the process on my own and posted the results. Warning you that the view had to contain a 2D component and to turn off the topography (Still not sure why other categories that weren't within the extents of the original view didn't save as well.) But this way you were along for the ride and MAYBE it will inspire you to investigate that idea you have been thinking about in Revit.
This is basically what I do as an Application Specialist. Usually it is a little more focused on a clients specific problem and not always Revit based, but digging into the WHY is what I do... Give it a try, its NIFTY!

![clip_image002[8]](http://lh3.ggpht.com/_ijtOVU9XmWQ/SQpuvxjNXJI/AAAAAAAAAF0/xUREp-kFMzs/clip_image002%5B8%5D_thumb%5B1%5D.jpg?imgmax=800)
![clip_image002[10]](http://lh5.ggpht.com/_ijtOVU9XmWQ/SQpuxAdeD4I/AAAAAAAAAF8/SZFnoXDPO7A/clip_image002%5B10%5D_thumb.jpg?imgmax=800)


